Upgrading your door hardware is one of the most effective ways to refresh your interior. Whether you are moving from a classic brass look to a modern matte black, or fitting handles to a brand-new Grain and Bolt door, the process is straightforward if you focus on precision and alignment.
Taking your time ensures the latch operates silently and the handle feels solid to the touch. Here is how to achieve a professional-grade installation.
Tools You’ll Need
- Manual Screwdriver: Crucial for the final fix to avoid stripping screw heads or over-tightening.
- Tape Measure & Pencil: For pinpoint accuracy.
- Power Drill: For creating the spindle and bolt-through holes.
- Sharp Chisel & Hammer: If you need to recess the latch or strike plate.
Step 1: Preparation and Measurement
If you are fitting handles to a new door, consistency is key.
- Standard Height: The industry standard for handle height is 1000mm (1 metre) from the floor. Mark this on the “lock block” side of the door (usually indicated on the top edge of the door leaf).
- The Backset: Measure the distance from the edge of the door to the centre of the hole. This must match your latch—standard sizes are typically 57mm, 64mm, or 75mm. Mark this “centre point” clearly with your pencil.
Step 2: Installing the Latch
The latch is the heart of the door’s operation.
- Drilling: Drill the hole for the latch body into the door edge. Ensure the drill is perfectly level; if the latch goes in at an angle, the handle will stick.
- Recessing: Slide the latch in and trace around the faceplate. Use your chisel to create a shallow recess so the plate sits flush with the timber.
- Fixing: Screw the latch faceplate into place.
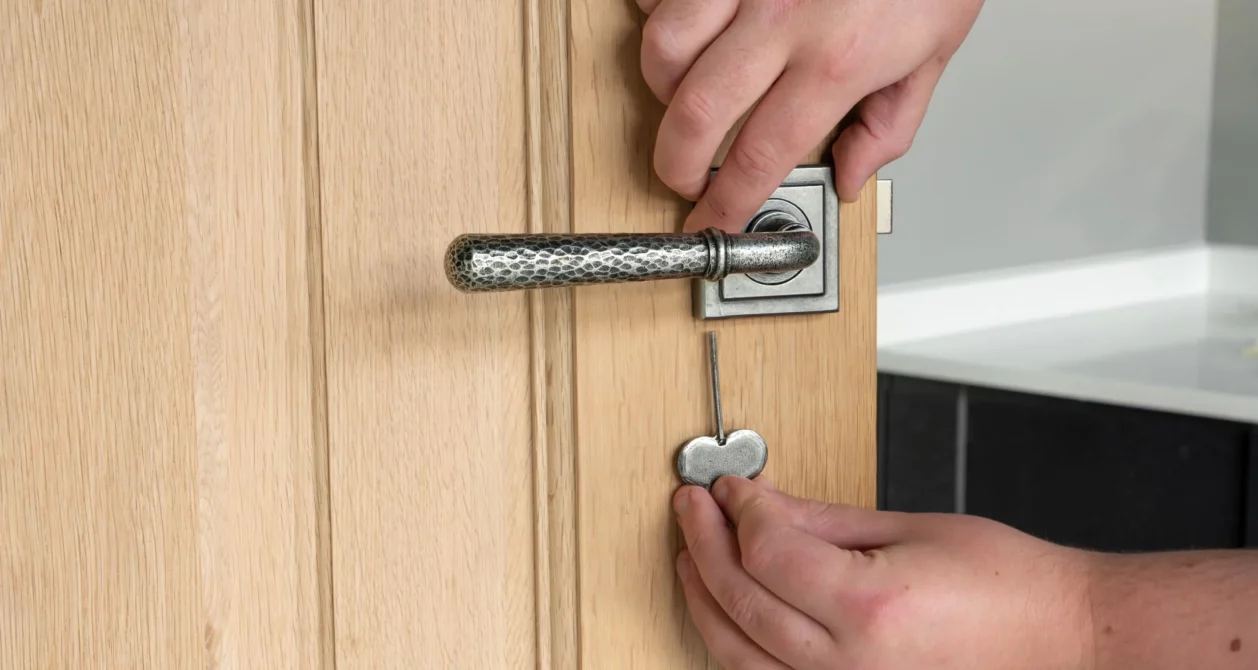
Step 3: Aligning the Spindle
The spindle is the square metal bar that connects your two handles.
- Slide the spindle through the latch.
- Pro Tip: Ensure the spindle is centred so that an equal amount of metal protrudes from both sides of the door. If it’s offset, one handle may fail to engage the latch properly.
Step 4: Fitting the Handles
This is where the aesthetic comes together.
- Slide the handles onto the spindle on both sides of the door.
- Manual Tightening: We strongly recommend using a manual screwdriver for the fixing screws. Power drivers can easily slip, scratching your new handle or the door face. They can also over-tighten, causing the internal spring mechanism to bind.
- Test the Action: Before you do the final tighten, depress the handle several times. It should return to a horizontal position quickly and smoothly.
Step 5: The Strike Plate
Finally, you need to prepare the door frame to receive the latch.
- Marking: Rub a little pencil lead or lipstick on the end of the latch, close the door, and turn the handle. This will leave a mark on the frame exactly where the latch hits.
- Fitting: Line up your strike plate with that mark, chisel the recess, and screw it in. If the door “rattles” when closed, move the strike plate slightly deeper into the stop; if it’s too tight, move it out.
A Final Note on Warranty
When fitting hardware to a Grain and Bolt door, remember that any significant “honeycombing” or structural drilling outside of the recommended lock-block area can affect the integrity of the door. Always use high-quality, fire-rated hardware if you are fitting to an FD30 or FD60 door to ensure you stay compliant with building regulations.
Leave a Reply